Push Notifications
Push Notifications provide a way to deliver some information to users while they are not using your app actively. The following use cases can be covered additionally with push notifications:
- send a chat message when a recipient is offline (a push notification will be initiated automatically in this case)
- make a video call with offline opponents (need to send a push notification manually)
Configuration
Section titled “Configuration”In order to start work with push notifications you need to configure it.
-
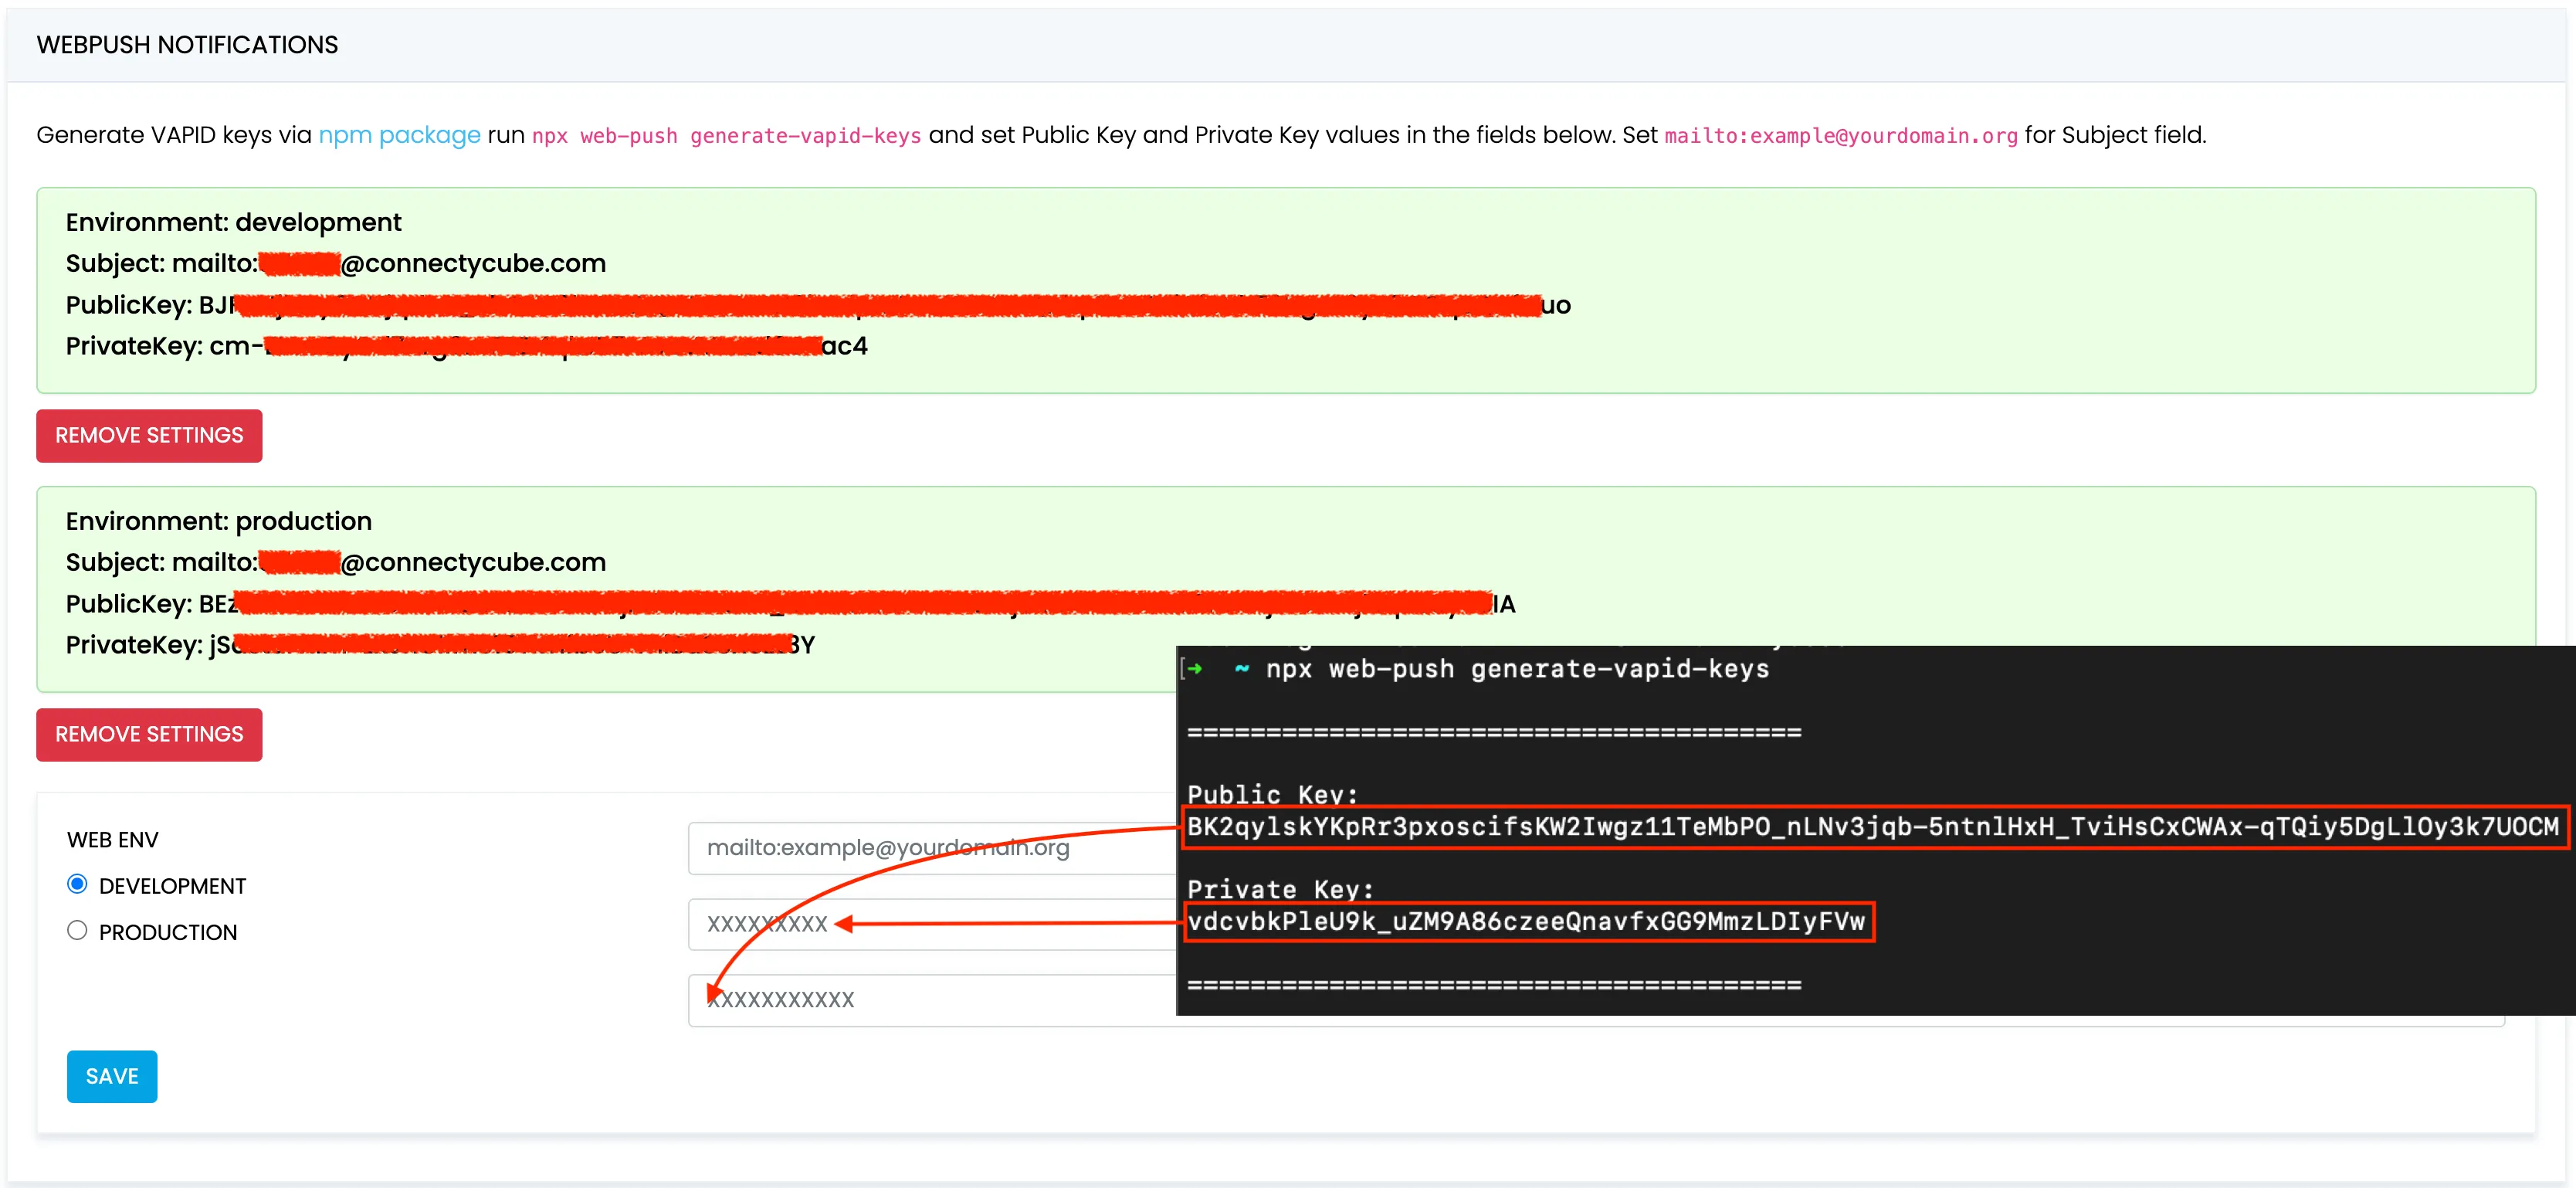
Generate VAPID keys via npm package: run
npx web-push generate-vapid-keysto get Public Key and Private Key values. -
Set keys in ConnectyCube dashboard:
- Open your ConnectyCube Dashboard at admin.connectycube.com
- Go to Push notifications module, Credentials page
- Set Public Key and Private Key values in the fields for “WebPush Notifications”. Set
mailto:example@yourdomain.orgfor Subject field.
Subscribe to push notifications
Section titled “Subscribe to push notifications”-
Create a service worker file (
*.js) and place it on your site. -
Use the following example to register the Service Worker at the correct path and subscribe to PushManager using the Public Key as the
applicationServerKey:const registration = await navigator.serviceWorker.register("path_to/serviceWorker.js");const subscription = await registration.pushManager.subscribe({applicationServerKey: "<public-key>",userVisibleOnly: true});const subscriptionData = subscription.toJSON(); -
Retrieve
subscriptionDatato create ConnectyCube subscription:const uniqDeviceIdentifier = "<fingerprint>" // Any unique fingerprint to identify the subscription with the browser tab, e.g. https://github.com/fingerprintjs/fingerprintjsconst params = {notification_channels: "web",device: {platform: "web",udid: uniqDeviceIdentifier,},push_token: {environment: "development",web_endpoint: subscriptionData.endpoint,web_auth: subscriptionData.auth,web_p256dh: subscriptionData.p256dh,},};const result = await ConnectyCube.pushnotifications.subscriptions.create(params);
Send push notifications
Section titled “Send push notifications”You can manually initiate a push notification to user/users on any event in your application. To do so you need to form a push notification parameters (payload) and set the push recipients:
const payload = JSON.stringify({ message: "This is a new chat message" });const params = {  notification_type: "push",  user: { ids: [21, 12] }, // recipients.  environment: "development", // environment, can be 'production'.  message: ConnectyCube.pushnotifications.base64Encode(payload),};
const result = await ConnectyCube.pushnotifications.events.create(params);
Receive push notifications
Section titled “Receive push notifications”You will receive notifications in the service worker and display them using the Notification API.
To successfully use the ServiceWorkerRegistration: showNotification() method, you first need to request permission via the Notification: requestPermission() method.
The following code demonstrates how to handle push notifications in a service worker:
self.addEventListener('install', (event) => {  self.skipWaiting();});
self.addEventListener('push', (event) => {  const data = event.data.json().data;  const title = data.title;  const options = { body: data.message, icon: data.photo };
  event.waitUntil(self.registration.showNotification(title, options));});
self.addEventListener('notificationclick', (event) => {  event.notification.close();  event.waitUntil(clients.openWindow('/'));});
Unsubscribe
Section titled “Unsubscribe”In order to unsubscribe and stop receiving push notifications you need to list your current subscriptions and then choose those to be deleted:
const subscriptions = await ConnectyCube.pushnotifications.subscriptions .list();const subscriptionId = subscriptions[0].subscription.id;const result = await ConnectyCube.pushnotifications.subscriptions .delete(subscriptionId);