How to Setup Firebase
Firebase account and project registration
Section titled “Firebase account and project registration”Follow these steps to register your Firebase account and create a Firebase project:
-
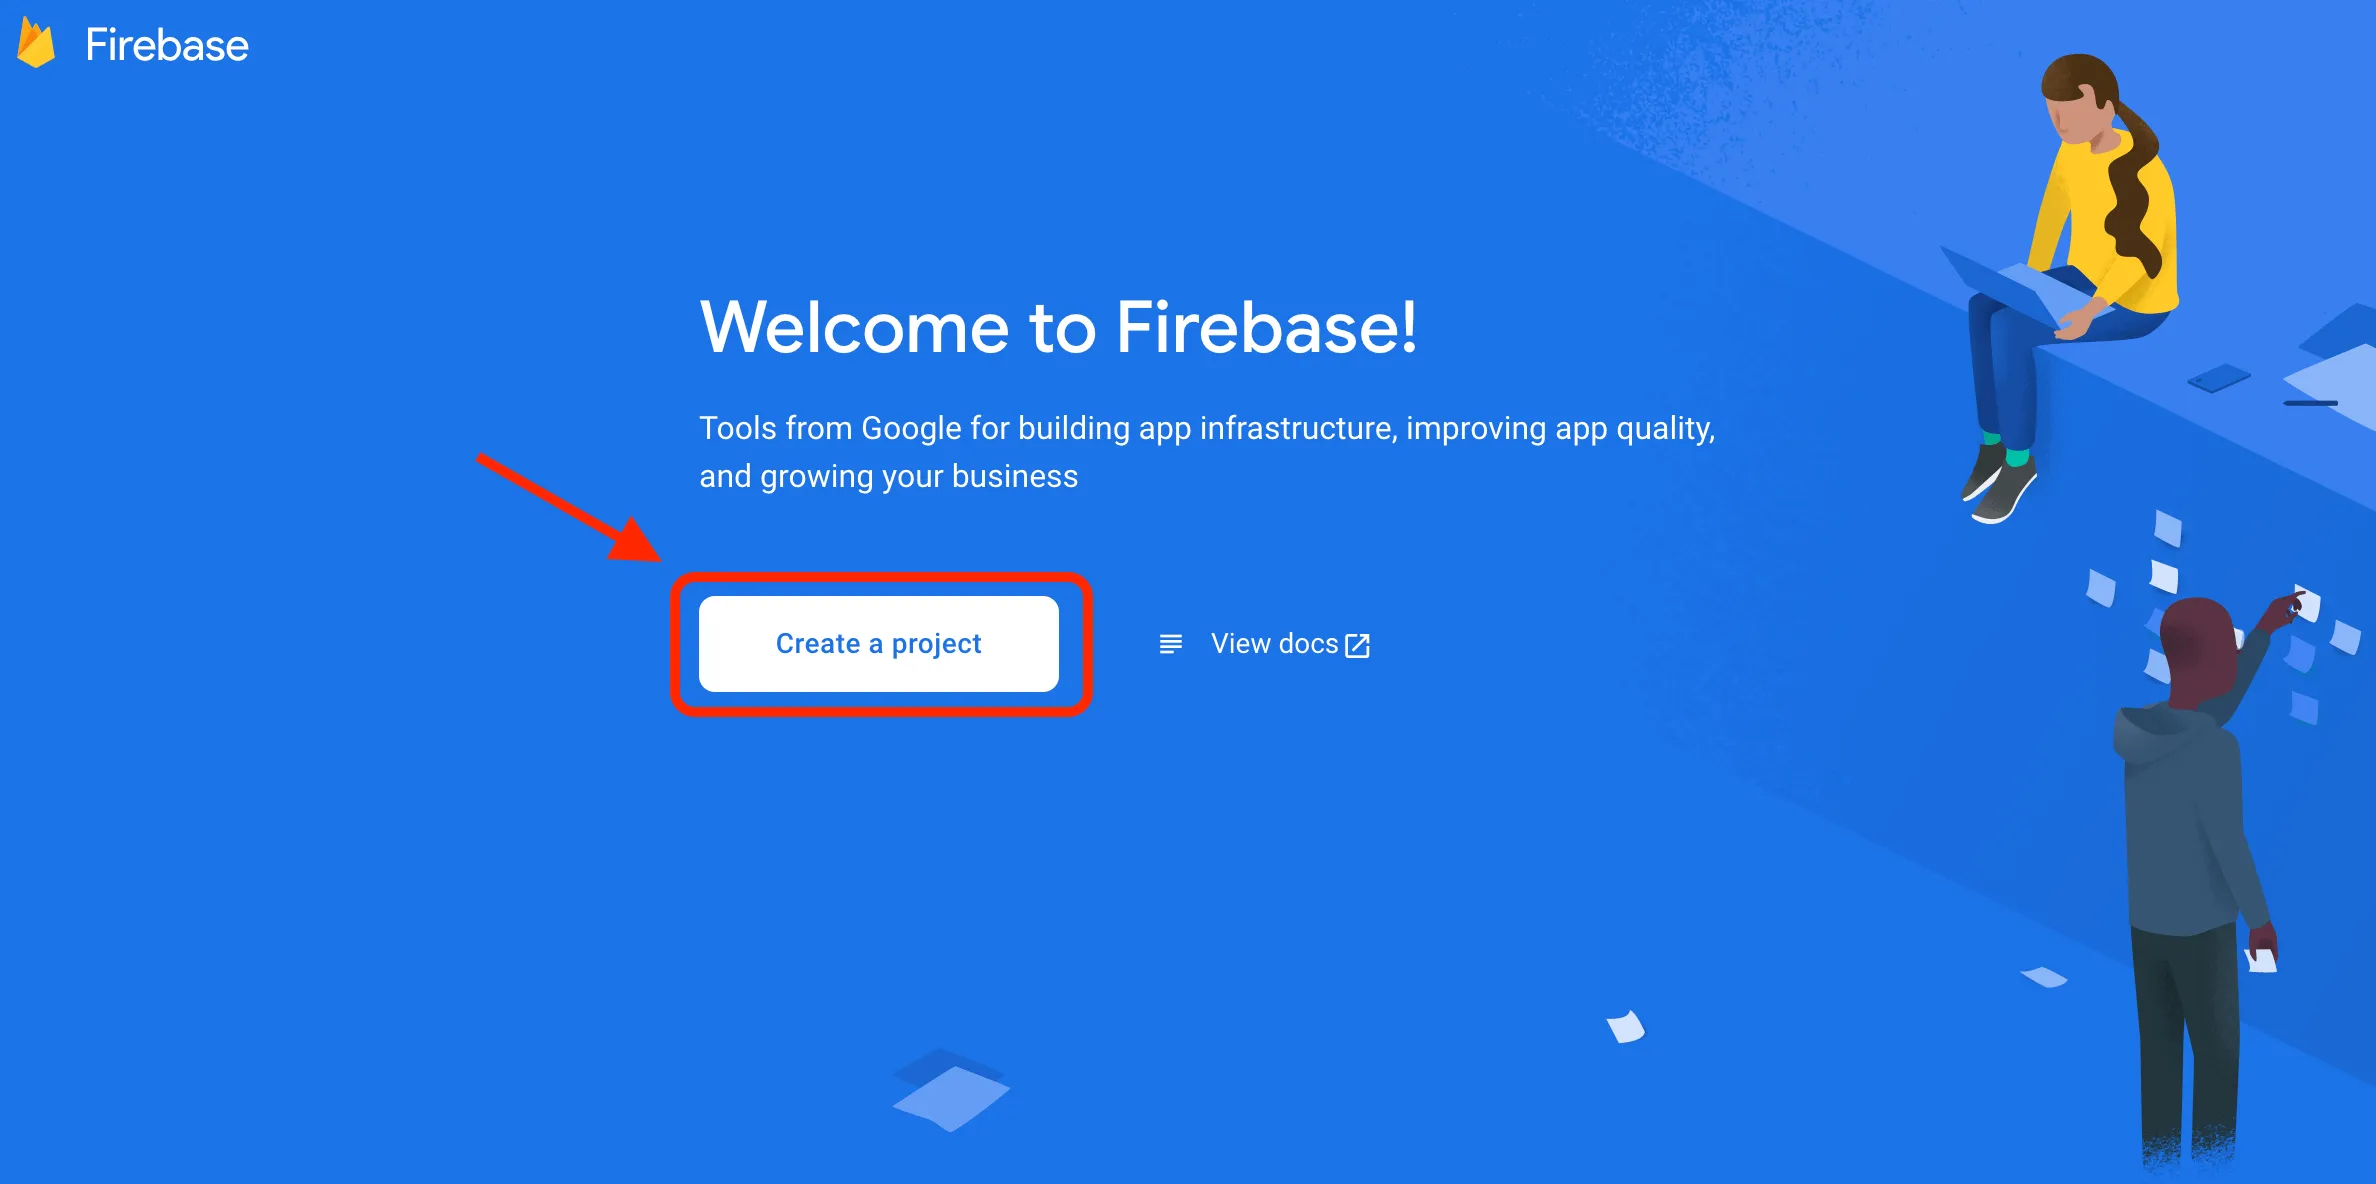
Register a Firebase account at Firebase console . You can use your Google account to authenticate at Firebase.
-
Click Create project
Note: If you have a Google project registered for your mobile app, select it from the Project name dropdown menu.
You can also edit your Project ID if you need. A unique ID is assigned automatically to each project. This ID is used in publicly visible Firebase features. For example, it will be used in database URLs and in your Firebase Hosting subdomain. If you need to use a specific subdomain, you can change it.
-
Fill in the fields required (Project name, Project ID, etc.) and click Continue.


-
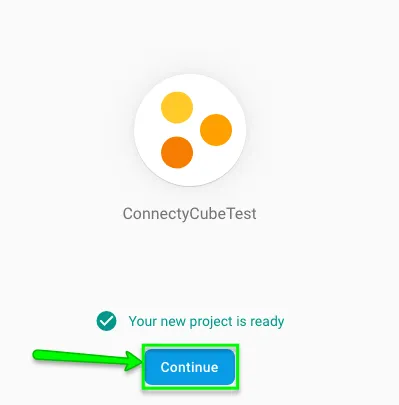
Configure Google Analytics for your project and click Create project.

Then click Continue.
-
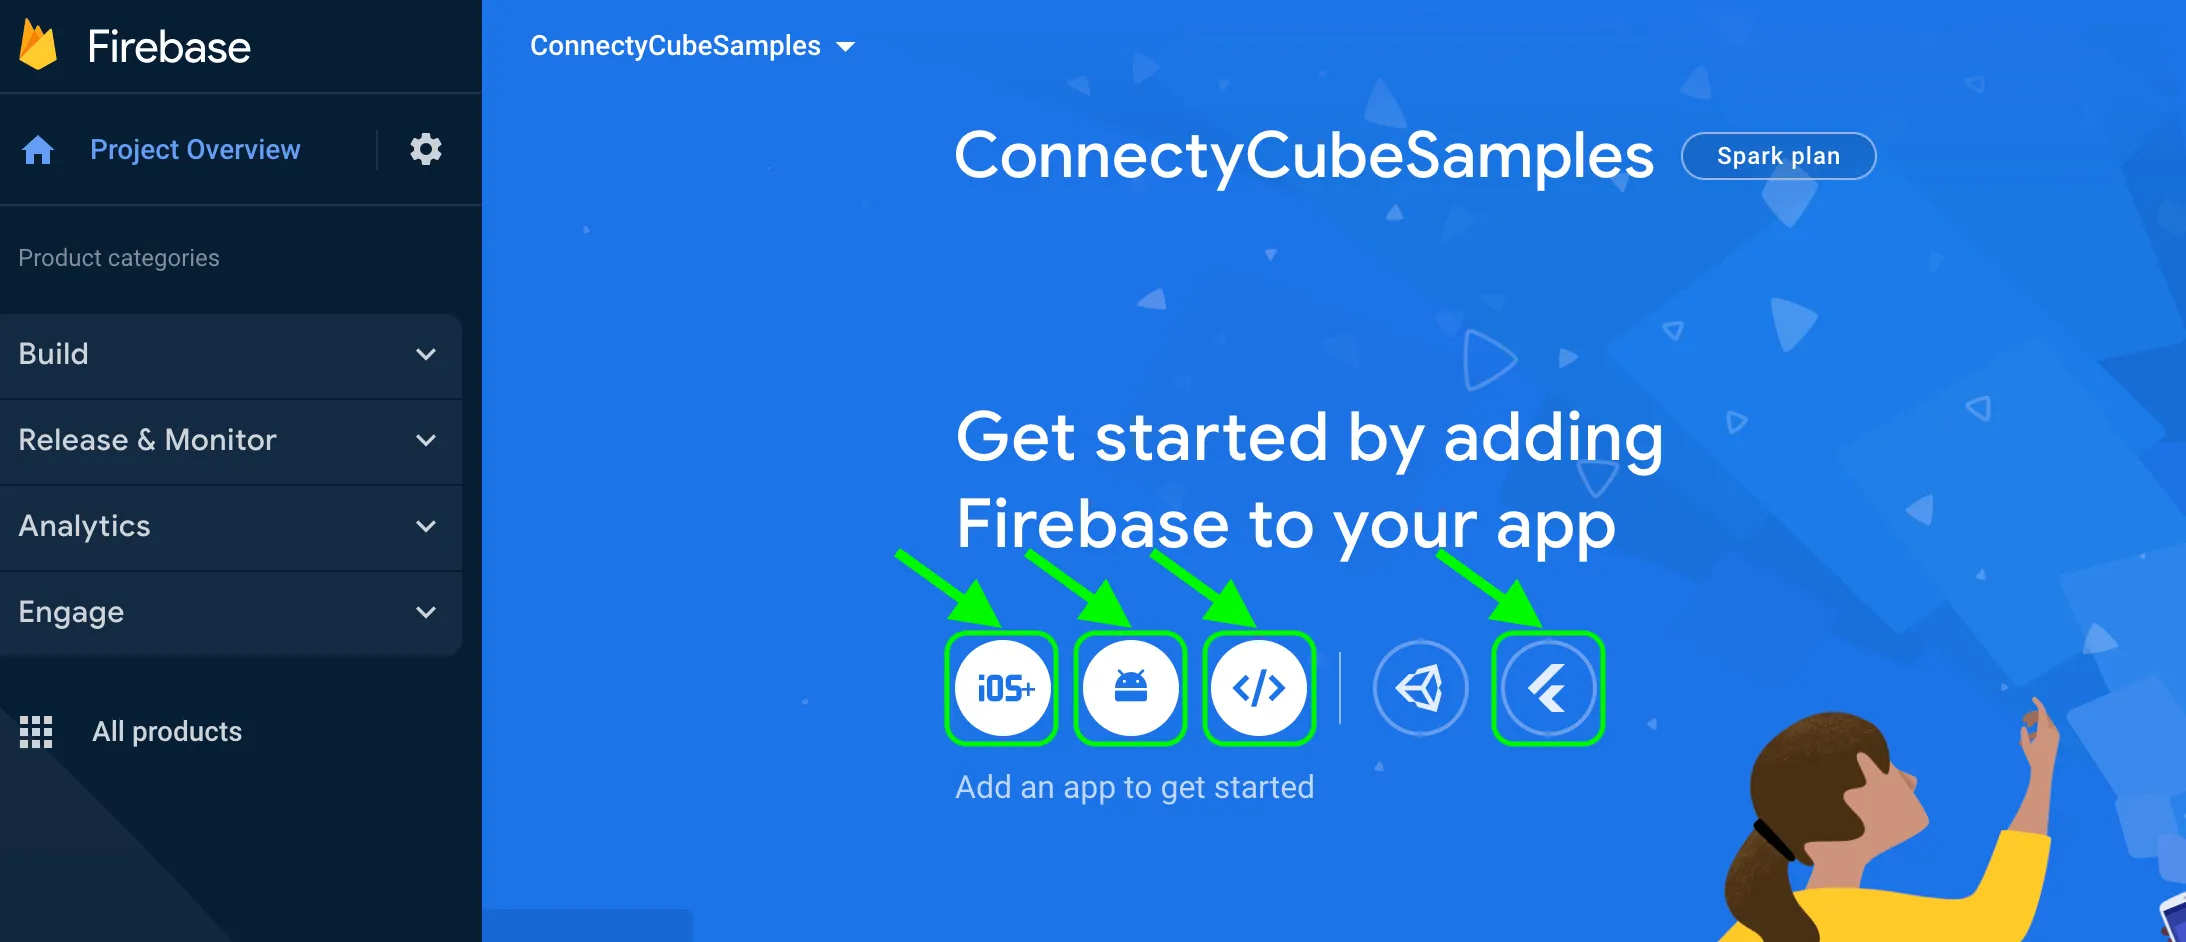
Select platform for which you need Firebase
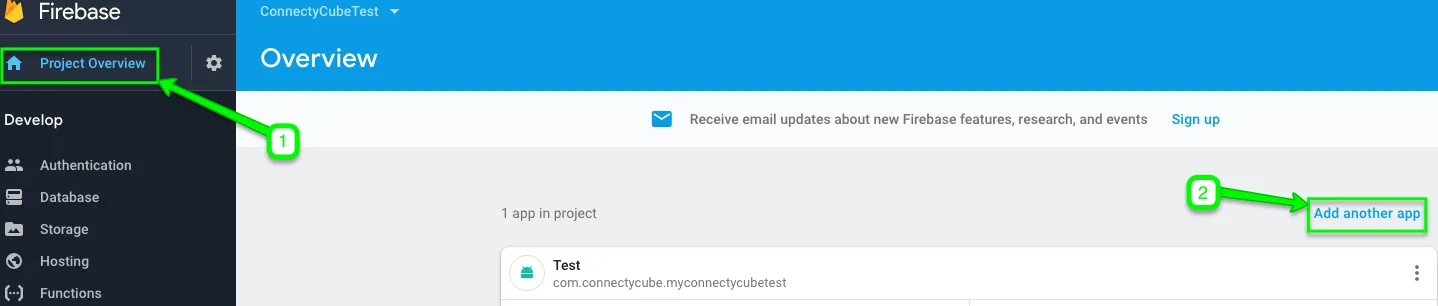
If you already have an app in your project, go to project Overview page and click Add another app link:
Connect Firebase SDK
Section titled “Connect Firebase SDK”Here is a step by step guide how to connect Firebase SDK to your Web Project:
-
Copy the code from Add Firebase to your web app screen and paste it in the tag of your HTML page before other script tags:
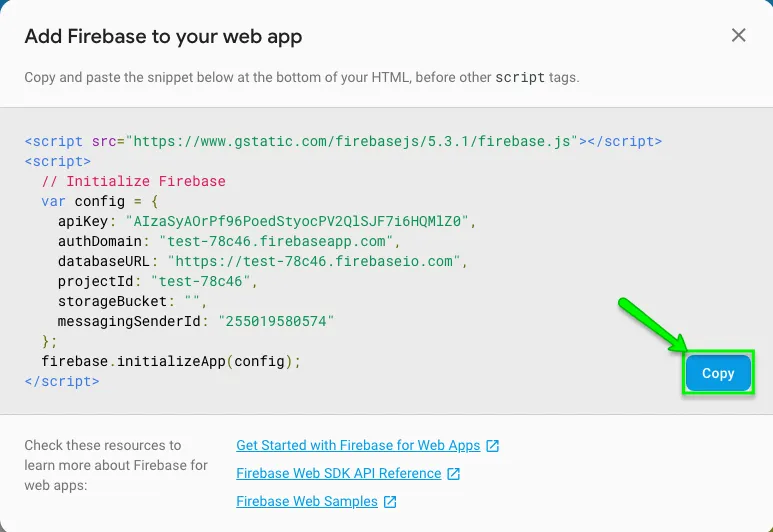
Note: The above code snippet should be used to initialize Firebase Javascript SDK for Authentication, Cloud Storage, Realtime Database, and Cloud Firestore. You can include only the features that you need. In our case Authentication (firebase-auth) component is necessary. If you use FCM push notifications on Web, then you need to include Firebase Cloud Messaging (firebase-messaging) component as well.
-
From the CDN you need to include the following components:
<!-- Firebase App is always required and must be first --><script src="https://www.gstatic.com/firebasejs/5.3.0/firebase-app.js"></script><!-- Add additional services that you want to use --><script src="https://www.gstatic.com/firebasejs/5.3.0/firebase-auth.js"></script><script src="https://www.gstatic.com/firebasejs/5.3.0/firebase-messaging.js"></script><script>const config = {// ...};firebase.initializeApp(config);</script>In case you are using a bundler like Browserify or webpack, you can just require() the components that you use:
// Firebase App is always required and must be firstconst firebase = require("firebase/app");// Add additional services that you want to userequire("firebase/auth");require("firebase/messaging");const config = {// ...};firebase.initializeApp(config);
Firebase authentication
Section titled “Firebase authentication”This option allows users in your app authenticate themselves via phone number. If you use this method for user authentication, the user receives an SMS with verification code and authenticates via that code in your app.
You need to follow these steps to add Firebase authentication to your Web project:
-
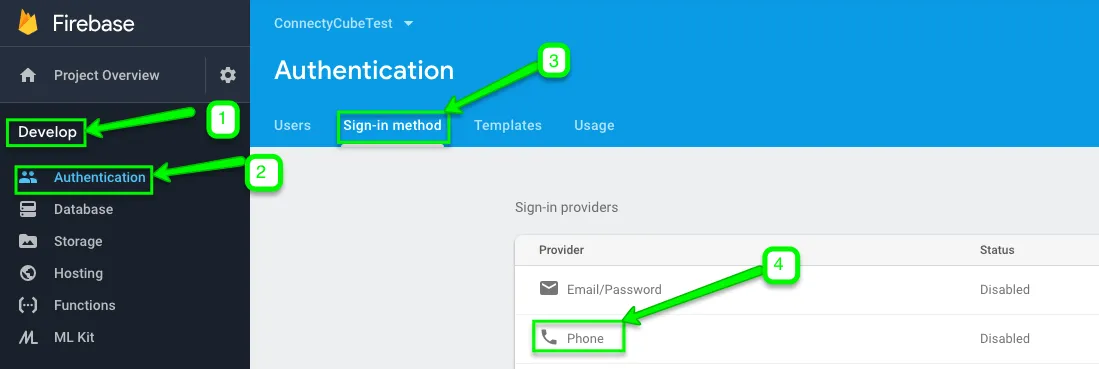
Go to Firebase console >> Authentication >> Sign-in method section:
-
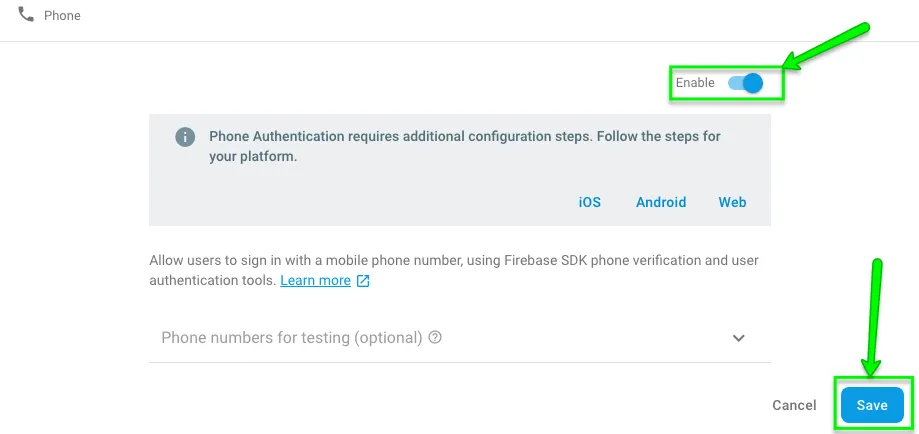
Enable Phone number sign-in method:
-
In Firebase console >> Authentication >> Sign-in method section check Authorized domains block and if your domain that will host your app is not added there, add it:
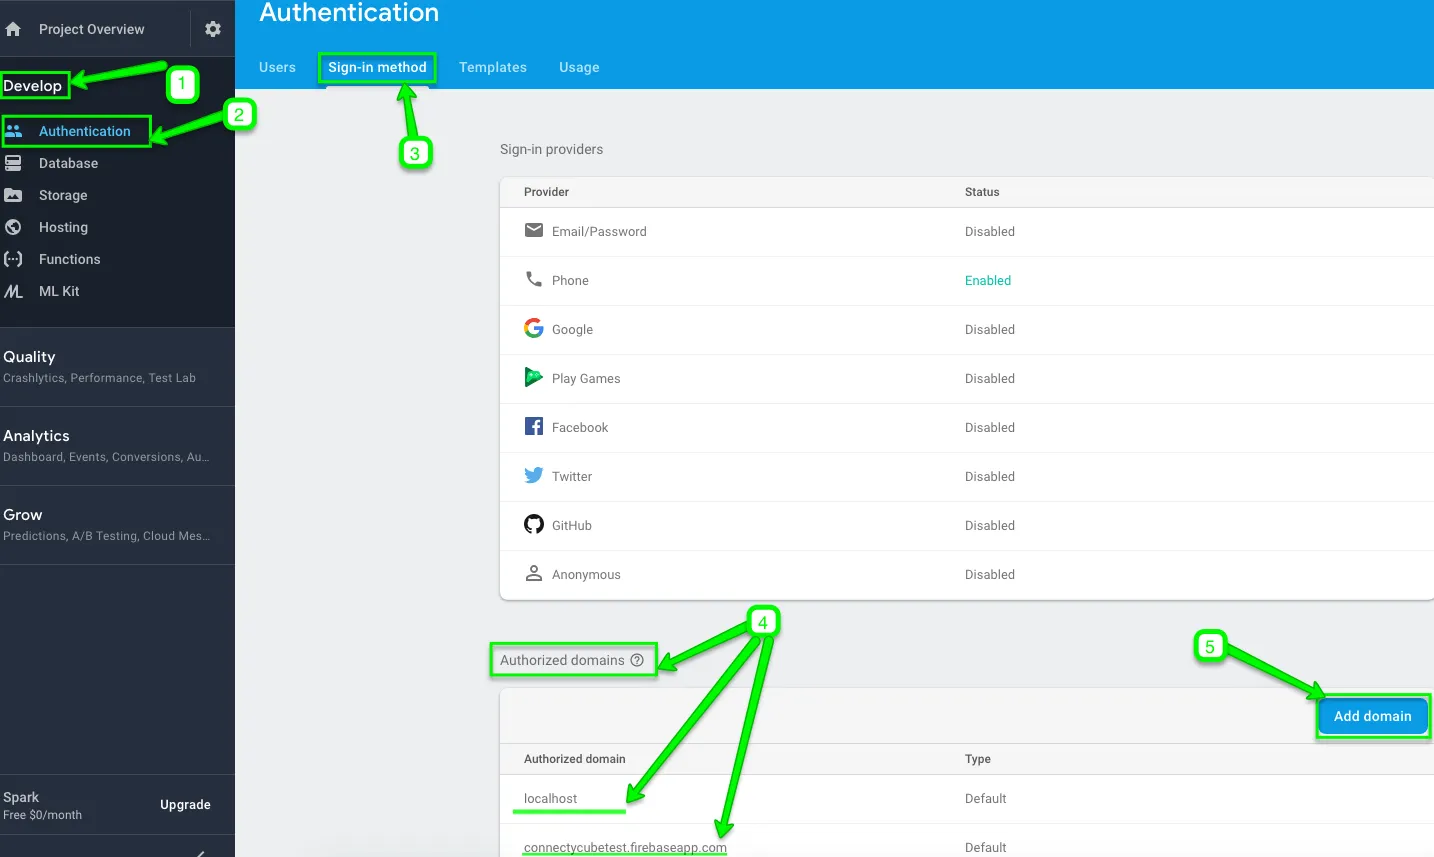
Then enter your domain name on the pop-up window that appears and click Add:

-
Set up reCAPTCHA verification:
Note: If you use Firebase SDK’s
RecaptchaVerifierobject, Firebase creates and handles any necessary client keys and secrets automatically, so you do not need to set up a reCAPTCHA client manually.reCAPTCHA options:
- Invisible reCAPTCHA
RecaptchaVerifierobject supports invisible reCAPTCHA, which can verify the user without requiring any user action.In order to set it you need to create a
RecaptchaVerifierobject with thesizeparameter set toinvisible, specifying the ID of the button that submits your sign-in form:window.recaptchaVerifier = new firebase.auth.RecaptchaVerifier("sign-in-button", {size: "invisible",callback: (response) => {// reCAPTCHA solved, allow signInWithPhoneNumber.onSignInSubmit();},});
 2) **reCAPTCHA widget**
 `RecaptchaVerifier` object supports reCAPTCHA widget, which always requires user interaction to complete successfully.
 In order to set it you need create an element on your page to contain the widget, and then create a `RecaptchaVerifier` object, specifying the ID of the container when you do so.
 ```javascript window.recaptchaVerifier = new firebase.auth.RecaptchaVerifier('recaptcha-container');
Optional features:
- Localization
reCAPTCHA can be localized by updating the language code on the Auth instance before rendering the reCAPTCHA. This localization will apply to the SMS message with verification code sent to the user as well.
firebase.auth().languageCode = "it";// To apply the default browser preference instead of explicitly setting it.// firebase.auth().useDeviceLanguage();- reCAPTCHA parameters
It is possible to set callback functions on the RecaptchaVerifier object that are called when the user solves the reCAPTCHA or the reCAPTCHA expires before the user submits the form:
window.recaptchaVerifier = new firebase.auth.RecaptchaVerifier("recaptcha-container", { size: "normal", callback: (response) => { // reCAPTCHA solved, allow signInWithPhoneNumber. // ... }, "expired-callback": () => { // Response expired. Ask user to solve reCAPTCHA again. // ... },});- Pre-render the reCAPTCHA
It is possible to pre-render the reCAPTCHA before you submit a sign-in request, if you call render:
recaptchaVerifier.render().then((widgetId) => { window.recaptchaWidgetId = widgetId;});After render resolves, you get the reCAPTCHA’s widget ID. You can use it to make calls to the reCAPTCHA API:
const recaptchaResponse = grecaptcha.getResponse(window.recaptchaWidgetId);-
Send a verification code to user’s phone:
In order to request that Firebase send an authentication code to the user’s phone by SMS, set an interface that prompts users to provide their phone number, and then call
signInWithPhoneNumberas follows:- Get the user’s phone number
Note
As a best practice please do not forget to inform your users that if they use phone sign-in, they might receive an SMS message for verification and standard rates apply.
- Call
signInWithPhoneNumber, passing to it the user’s phone number andRecaptchaVerifieryou created earlier:
const phoneNumber = getPhoneNumberFromUserInput();const appVerifier = window.recaptchaVerifier;firebase.auth().signInWithPhoneNumber(phoneNumber, appVerifier).then((confirmationResult) => {// SMS sent. Prompt user to type the code from the message, then sign the// user in with confirmationResult.confirm(code).window.confirmationResult = confirmationResult;}).catch((error) => {// Error; SMS not sent// ...});If
signInWithPhoneNumberresults in an error, reset reCAPTCHA so that the user can try verifying again:grecaptcha.reset(window.recaptchaWidgetId);// Or, if you haven't stored the widget ID:window.recaptchaVerifier.render().then(widgetId => {grecaptcha.reset(widgetId);}Note:
signInWithPhoneNumbermethod issues reCAPTCHA challenge to the user, and if the user passes the challenge, requests that Firebase Authentication send an SMS message containing a verification code to the user’s phone. -
Sign in the user with the verification code:
-
Once the call to
signInWithPhoneNumbersucceeds, you need to prompt the user to type the verification code they received by SMS. -
Then, sign in the user by passing the code to
confirmmethod ofConfirmationResultobject that was passed tosignInWithPhoneNumber’s fulfillment handler (that is, itsthenblock):
const code = getCodeFromUserInput();let user;confirmationResult.confirm(code).then((result) => {// User signed in successfully.user = result.user;// ...}).catch((error) => {// User couldn't sign in (bad verification code?)// ...});If the call to
confirmsucceeded, the user is successfully signed in.- Get the intermediate
AuthCredentialobject:
If you need to get an
AuthCredentialobject for the user’s account, pass the verification code from the confirmation result and the verification code toPhoneAuthProvider.credentialinstead of callingconfirm:const credential = firebase.auth.PhoneAuthProvider.credential(confirmationResult.verificationId, code);Then, you can sign in the user with the credential:
let user;firebase.auth().signInAndRetrieveDataWithCredential(credential).then((result) => {// User signed in successfully.user = result.user;}).catch((error) => {}); -
-
Get Firebase accessToken after SMS code verification as follows:
let accessToken;user.getIdToken().then((idToken) => {accessToken = idToken;}); -
Get your Project ID from your Firebase console:

-
Pass your Firebase
project_idand Firebaseaccess_tokenparameters tologinmethod:const userCredentials = {provider: 'firebase_phone',firebase_phone[project_id]: '...',firebase_phone[access_token]: accessToken};ConnectyCube.login(userCredentials).then(user => {});.catch(error => {}); -
Try running a test.
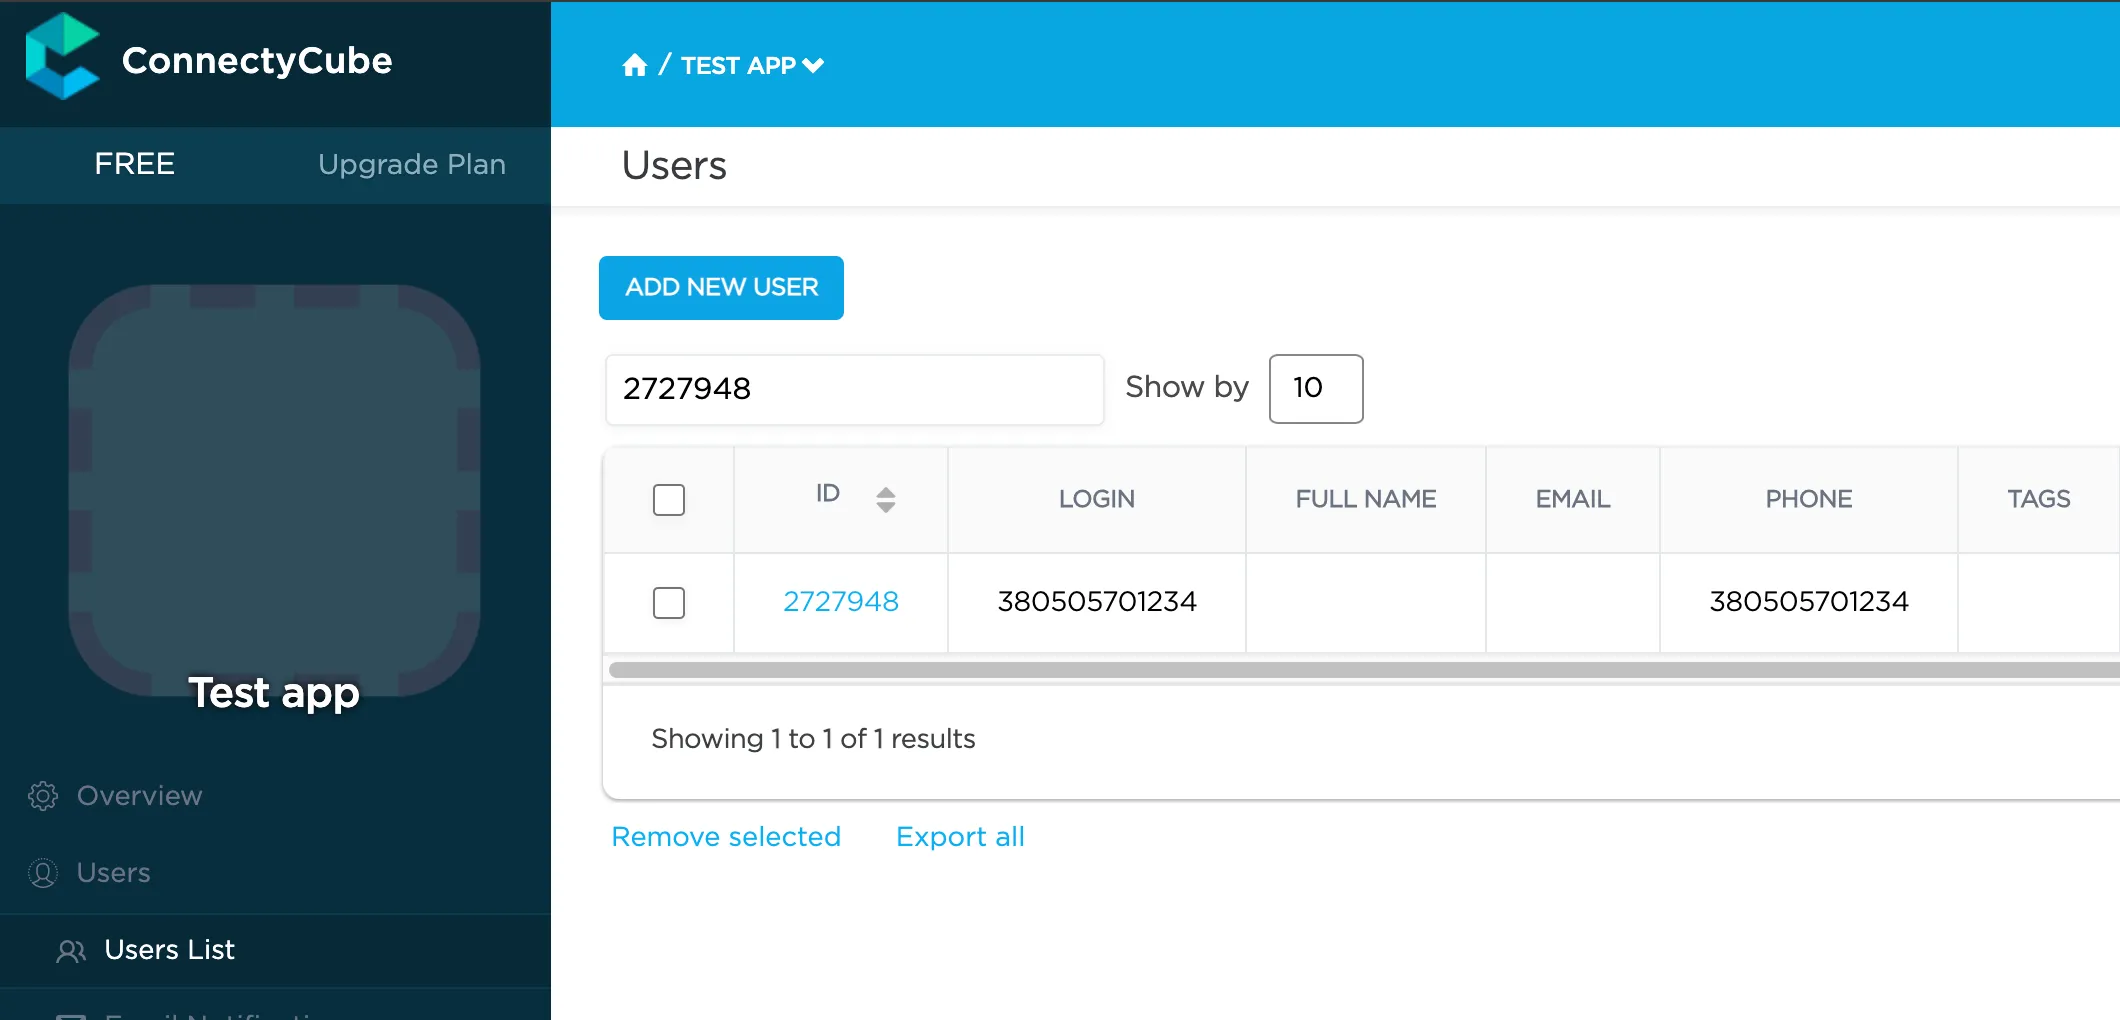
Once your user is logged in successfully, you will find him/her in your Dashboard >> Your App >> Users section.
So now you know how to use Firebase features in your ConnectyCube apps. If you have any difficulties - please let us know via support channel